Reduce Photo Size to 20KB Online Quickly Without Affecting Image Quality for UPSC, SSC, Banking, and School Applications
How to Reduce Photo Size to 20KB Online Quickly Without Affecting Image Quality for UPSC, SSC, Banking, and School Applications
In today’s digital age, the first impression you make on a recruiter or an admission board is often through a scanned photograph and signature. Whether you are applying for the prestigious UPSC Civil Services Examination, a clerical position in an SSC board, a probationary officer role in a bank, or simply enrolling your child in a school, one technical hurdle remains constant: the Photo Size requirement.
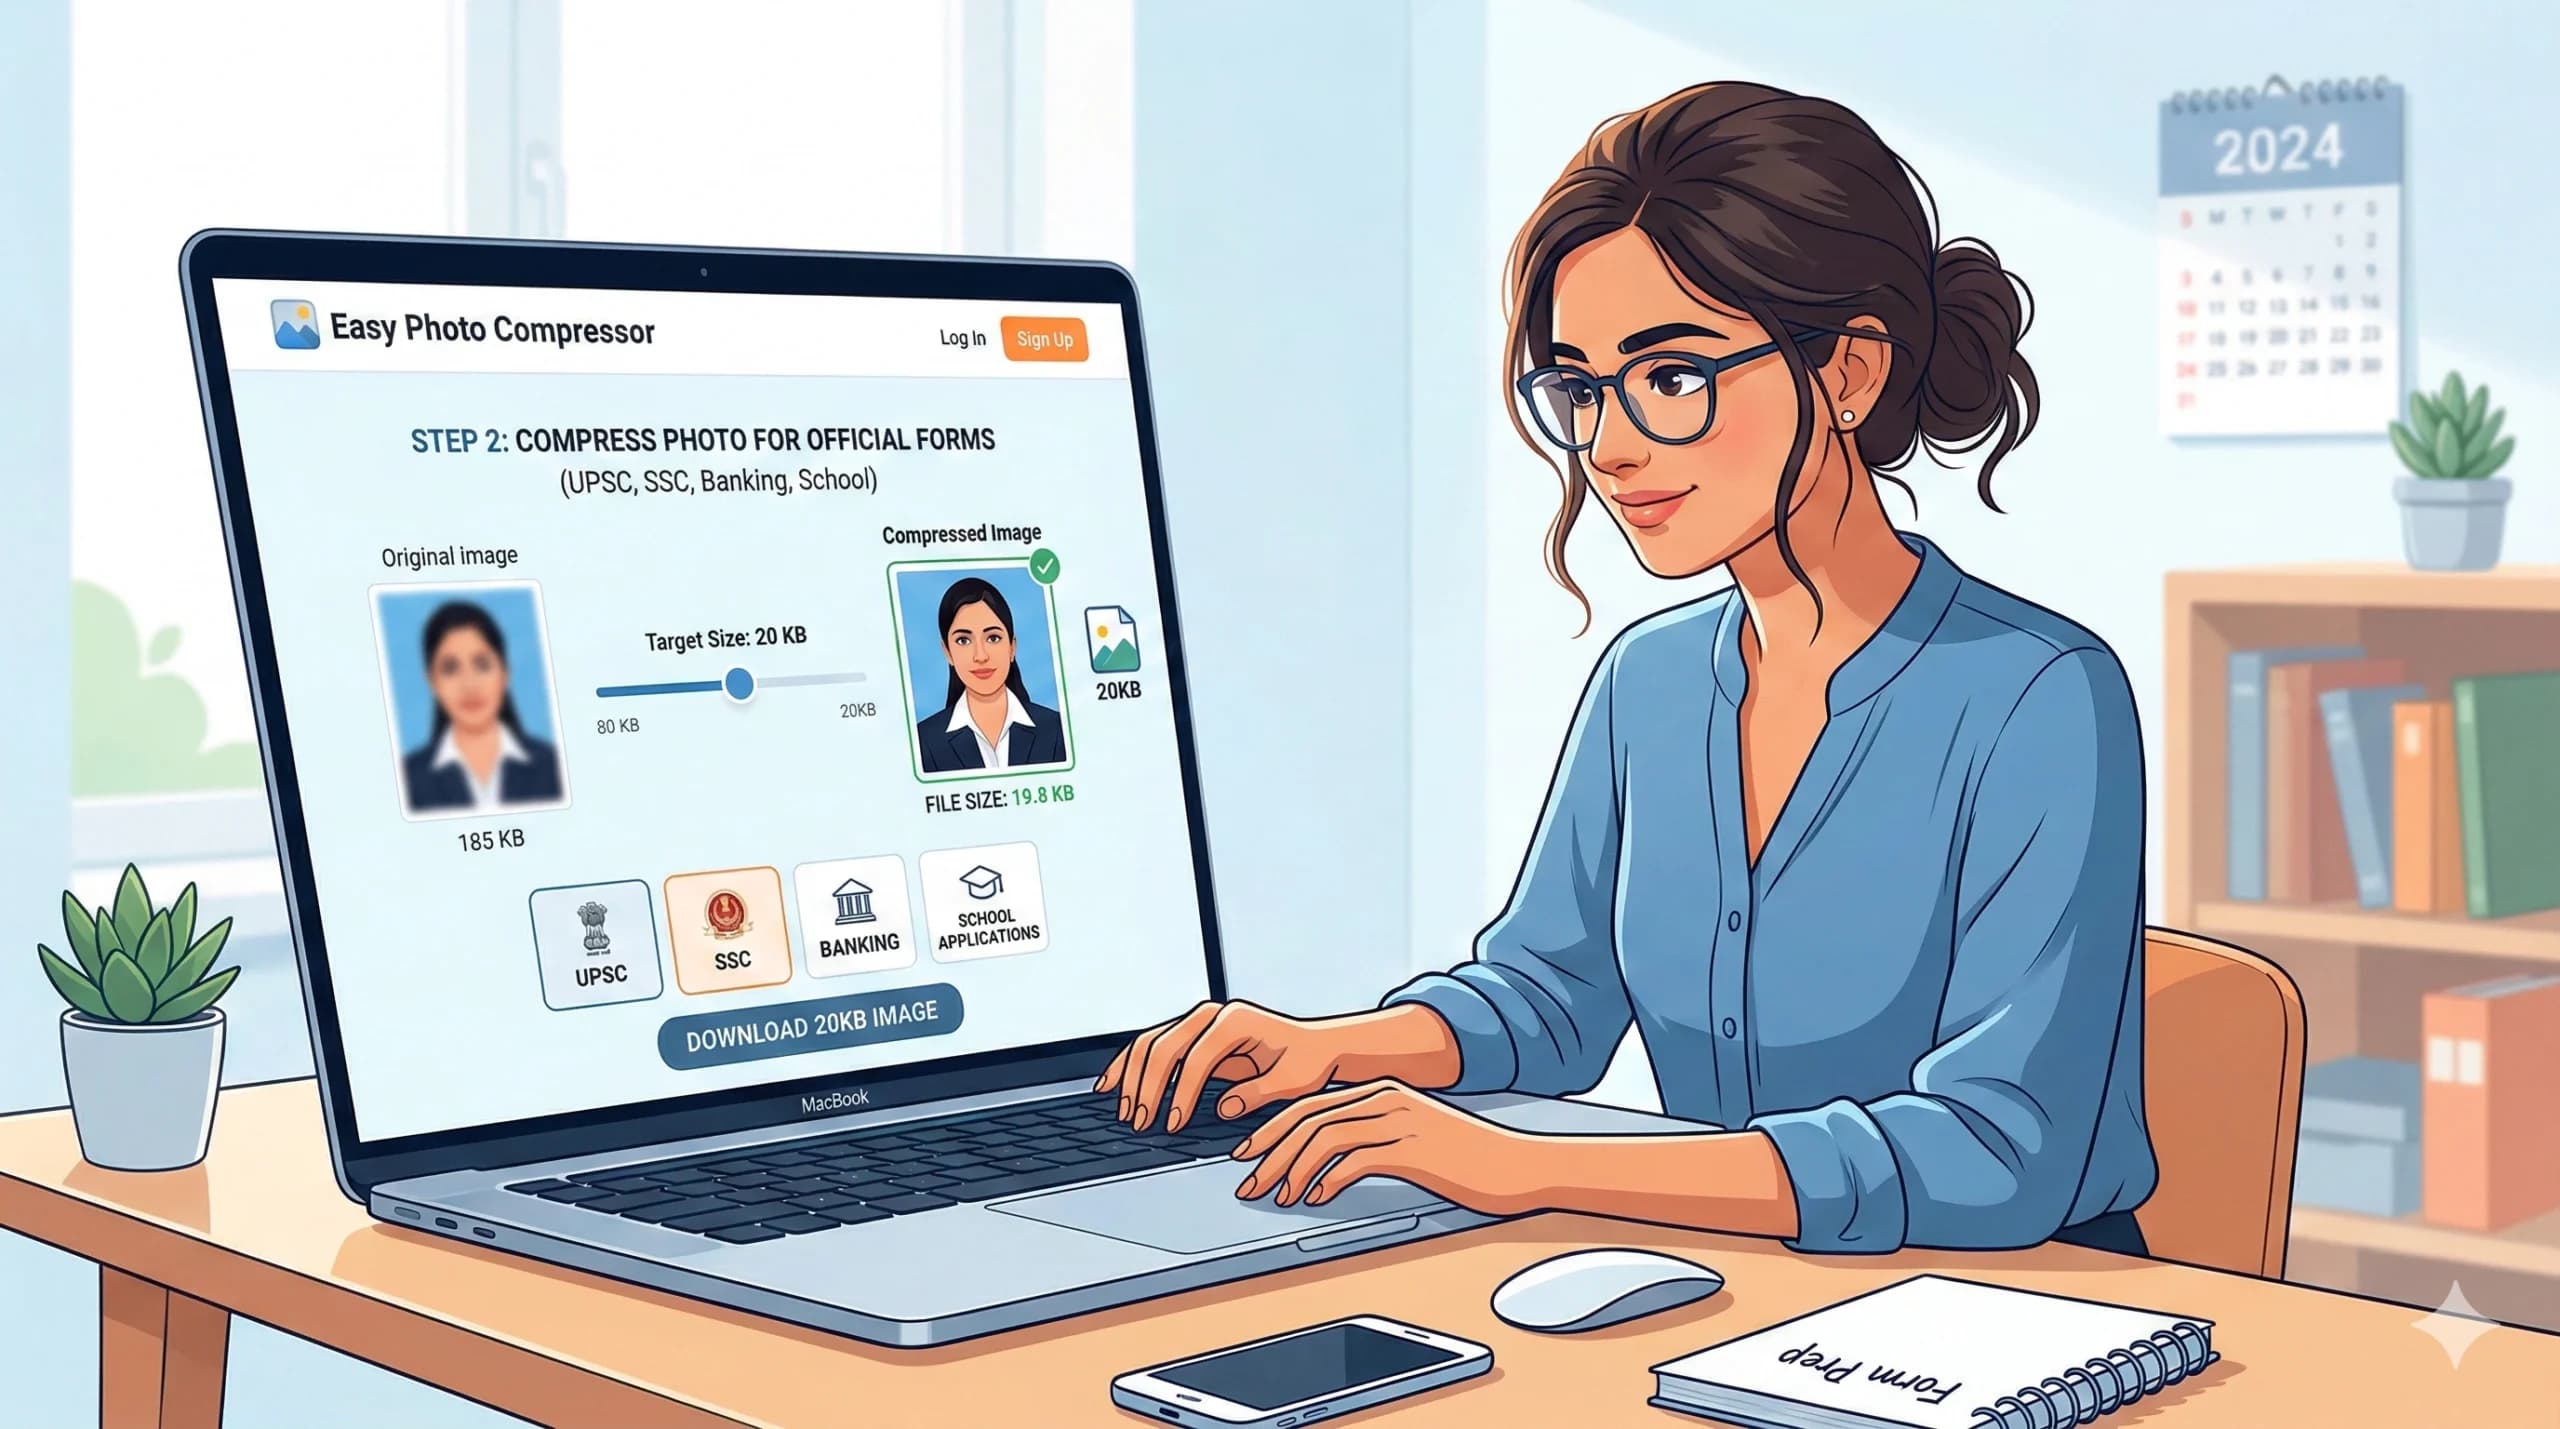
Most government and educational application portals in India specifically demand a passport-size photograph that does not exceed 20KB in file size. While this might seem like a straightforward task, many applicants struggle with the technical aspect of how to reduce photo size to 20KB without turning their high-resolution image into a blurry, pixelated mess.
If you have been searching for a way to compress images online quickly while maintaining crystal clear quality, you have landed on the right page. This guide will walk you through the best methods, tools, and techniques to ensure your photo meets the 20KB criteria without compromising on clarity.
Why is the 20KB Photo Size Requirement So Common?
Before diving into the “how,” it is essential to understand the “why.” Government portals like UPSC, SSC, and various Banking recruitment websites handle millions of applications simultaneously. To manage server load and ensure fast uploading and downloading of documents, file size restrictions are strictly enforced.
- Server Efficiency: Smaller files take up less storage space on government databases.
- Bandwidth Saving: India has a diverse range of internet speeds. A 20KB file loads quickly even on slow connections, ensuring a smooth application process for rural candidates.
- Standardization: It forces all candidates to submit images of similar dimensions and clarity, making verification easier for officials.
The Challenge: Maintaining Quality While Reducing Size
The biggest fear for any candidate is that when they attempt to reduce photo size to 20KB, the image becomes distorted. This happens because compression often involves discarding “excess” data. If done incorrectly, the algorithm removes the wrong data, leading to a loss of facial features, color distortion, or the appearance of “artifacts” (blurry blocks).
However, with the right online tools and techniques, you can achieve the perfect balance between file size and image quality.
Step-by-Step Guide: How to Reduce Photo Size to 20KB Online
Here is a detailed guide to compressing your image to the desired 20KB size using online methods. These methods are ideal for UPSC, SSC, Banking, and School applications.
Method 1: Using Dedicated Compression Tools
There are numerous free online tools designed specifically to reduce photo size to 20KB. These tools use advanced algorithms to strip away unnecessary metadata while preserving the core visual data.
Recommended Tools:
- TinyPNG / TinyJPG: Excellent for maintaining transparency and quality.
- ILoveIMG: Offers a bulk compression feature.
- CompressJPEG Online: Specifically designed for passport photos.
How to do it:
- Upload: Go to the website and upload your original high-resolution photo (usually between 50KB to 200KB).
- Settings: Look for a slider or an option that says “Output Size” or “Target Size.” Set this to 20KB.
- Download: Click compress. The tool will automatically adjust the resolution and quality. Download the file and check the properties (Right-click > Properties > Size) to ensure it is exactly 20KB or slightly less.
Method 2: Using Image Editing Software (MS Paint)
If you prefer not to upload your photos to third-party servers for privacy reasons, you can use offline methods. MS Paint is a surprisingly effective tool to resize dimensions and reduce file size.
How to do it:
- Open the image in MS Paint.
- Click on Resize. Select “Pixels.” Ensure “Maintain aspect ratio” is checked.
- Standard passport photo dimensions are often 200×230 pixels or similar. Adjust the pixel dimensions downwards until the file size lowers. (e.g., try 150×170 pixels).
- Save the file. If it is still above 20KB, go to “Save As” and choose JPEG. JPEG format compresses more than PNG.
- Alternatively, use the “Resize” option in Microsoft Office Picture Manager to drag a quality slider down.
Method 3: Using Photoshop (For High Precision)
If you have access to Adobe Photoshop, you have the ultimate control over the KB to MB ratio.
How to do it:
- Open the image.
- Go to File > Export > Save for Web (Legacy) .
- In the dialog box, choose JPEG format.
- Adjust the Quality percentage (usually between 30-50% works for passport photos).
- Look at the bottom-left corner of the preview window; it shows the estimated file size. Tweak the quality until you hit the 20KB mark.
- Save.
Pro Tips to Ensure Quality Isn’t Lost
To ensure your photo remains clear enough for identification by UPSC or SSC examiners, follow these golden rules:
- Start with a High-Quality Original: Never try to compress a blurry photo. The clearer the original (high resolution), the better the compressed version will look. Ideally, your original photo should be between 50KB and 100KB.
- Maintain Aspect Ratio: Stretching an image makes faces look distorted. Always lock the aspect ratio when resizing.
- Use the Right Format: Always save your final photo as .JPG or .JPEG. PNG files are generally larger and harder to compress to 20KB without quality loss.
- Check the Dimensions: Sometimes the issue isn’t the compression, but the pixel dimensions. A photo that is 800×1200 pixels will always be heavy. Reduce the physical dimensions first (to around 200×230 pixels) and then compress the quality.
- Zoom In: Before submitting, zoom in on the compressed image. If the eyes or facial features are pixelated, try a different compression tool.
Common Mistakes to Avoid in Exam Applications
When you reduce photo size to 20KB, you must also ensure the image meets the specific guidelines of the exam. Here are common pitfalls:
- Wrong Background: UPSC and SSC usually require a white or light-colored background. Compression can sometimes darken backgrounds. Ensure it remains neutral.
- Signature Confusion: Often, you need to compress the signature to 10KB or 20KB as well. The process is the same, but ensure the signature is on white paper with a black pen for best contrast.
- File Naming: After compression, rename your file according to the application guidelines (e.g.,
Photo_YourName.jpg). Do not leave it ascompressed_image (1).jpg.
Top Tools to Reduce Photo Size to 20KB Online
Here is a curated list of reliable online tools that are safe and effective for compressing exam photos:
- PicResize: Allows you to specify an exact output file size.
- ReduceNow: Specifically designed for Indian exam applications, offering presets for UPSC, SSC, and Bank.
- Online-Convert: Gives you granular control over bitrate and resolution.
- Jpeg.io: Converts to highly optimized JPEGs instantly.
Note: Always use these tools on a secure network and avoid uploading sensitive documents if you are uncomfortable. Clear your browser cache after downloading.
FAQ: Frequently Asked Questions About Reducing Photo Size to 20KB
To further assist you in your application journey, here are answers to the most common questions regarding photo compression for government exams.
Q1: Is it safe to reduce photo size to 20KB online?
Ans: It depends on the website you use. Reputable sites like TinyPNG or ILoveIMG have privacy policies stating they delete uploaded files after a few hours. However, for maximum security, you can use offline tools like MS Paint or Photoshop. If you must use an online tool for a UPSC application, avoid using Wi-Fi networks that are public and unsecured.
Q2: What are the exact photo dimensions required for SSC CGL 2025?
Ans: While file size is strictly 20KB, the dimensions usually range between 200×230 pixels. Always refer to the official notification, but the general rule for most SSC and Banking exams is a recent color photograph with 80% face coverage, sized between 20KB to 50KB.
Q3: My photo is 50KB. How can I drastically reduce it to 20KB without losing face clarity?
Ans: Reducing from 50KB to 20KB is a 60% reduction in data. To do this without losing facial clarity:
- First, crop the image tightly around your shoulders and head to remove excess background.
- Reduce the pixel dimensions (e.g., from 300×320 to 200×230).
- Use a compression tool with a “Target Size” feature and set it to 20KB. The tool will automatically find the optimal quality setting.
Q4: What should I do if the online tool reduces my photo to 15KB or 10KB?
Ans: If the file goes below 20KB, the quality might be too low. Re-upload the original and use a “Quality” slider (usually 60-80%) rather than a “Target Size” option. Check the estimated size as you slide. If it dips below 20KB, increase the quality slightly until you land exactly between 18KB and 20KB.
Q5: Can I reduce a scanned signature to 20KB using the same method?
Ans: Absolutely. Signatures are usually black and white, which makes them easier to compress. You can often save a signature at 10KB to 15KB without any visible loss. Follow the same steps, but ensure the signature is clear against a white background.
Q6: Why does the UPSC portal reject my photo even when it is 19KB?
Ans: File size is one of many criteria. UPSC also checks for:
- Dimension Ratio: The height and width must be specific.
- Format: It must be a .jpg or .jpeg.
- Age: The photo must be recent (not older than 3 months).
- Clarity: If the compression made the photo too grainy, the automated system or the reviewing officer may reject it.
Q7: Is there a mobile app to reduce photo size to 20KB?
Ans: Yes, several mobile apps are available. “Photo Compress 2.0” and “Image Size” for Android, or “Reduce Photo Size” for iOS, are effective. You can take a photo, import it to the app, and specify the output size in KB.
Q8: How do I check the exact KB size of my photo after compression?
Ans:
- On Windows: Right-click the photo file > Select “Properties.” The size will be displayed in Bytes, KB, or MB.
- On Mac: Click the photo > Press
Command + Ito open the “Get Info” panel. - On Smartphone: Go to Gallery/Photos > Tap on the image info or details option.
Q9: What is the difference between reducing pixel size and reducing KB size?
Ans:
- Pixel Size (Dimensions): Refers to the width and height of the image (e.g., 200×230 pixels). Reducing this makes the image physically smaller on screen.
- KB Size (File Size): Refers to the amount of data the image file holds.
To achieve 20KB, you often need to do both: reduce the pixel dimensions slightly and then compress the quality (KB).
Q10: My photo is in PNG format. Can I reduce it to 20KB?
Ans: Yes, but PNGs are generally larger than JPEGs because they retain more data. It is highly recommended that you convert the PNG to JPG first (using an online converter or Paint) and then compress the JPG to 20KB. Compressing a PNG directly to 20KB may result in a significant loss of color quality.
Conclusion
Meeting the technical requirements of exam applications should not be a barrier to your dreams. Knowing how to effectively reduce photo size to 20KB online is a vital digital skill in today’s world. Whether you are aiming for a top rank in UPSC, a secure job in the banking sector, or simply filling out a school admission form, the steps outlined in this guide will ensure your photo is accepted on the first try.
Remember the mantra: Start with a high-quality original, reduce the dimensions proportionally, and use a trusted compression tool to hit the 20KB target.
Bookmark this guide for your future application needs, and always ensure your documents are ready well before the submission deadline to avoid last-minute technical glitches. Good luck with your application!
Written by Abhishek Baghel
Last updated: 27 February 2026